Skip to content
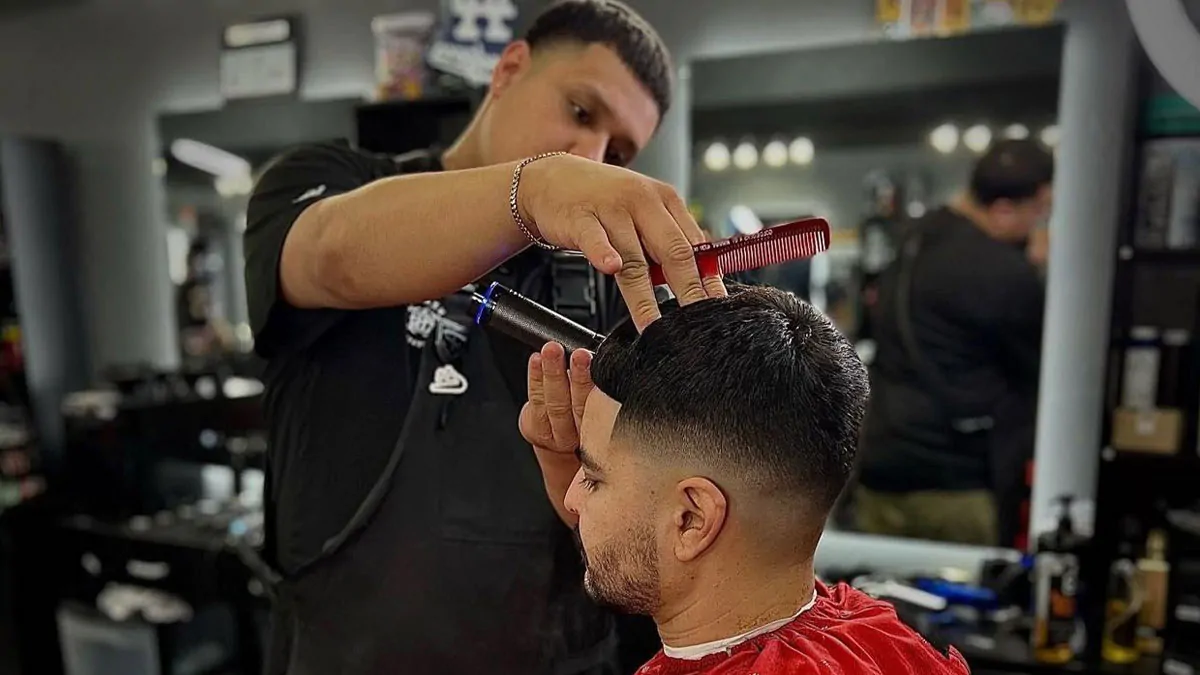
What is an Edgar Cut? A Complete Beginner’s Guide
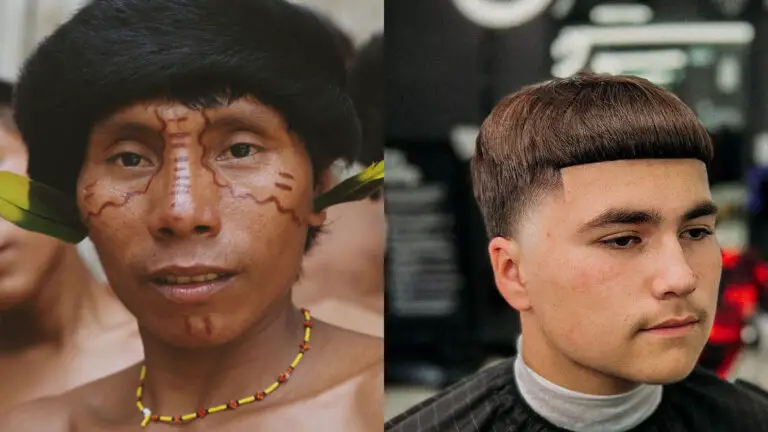
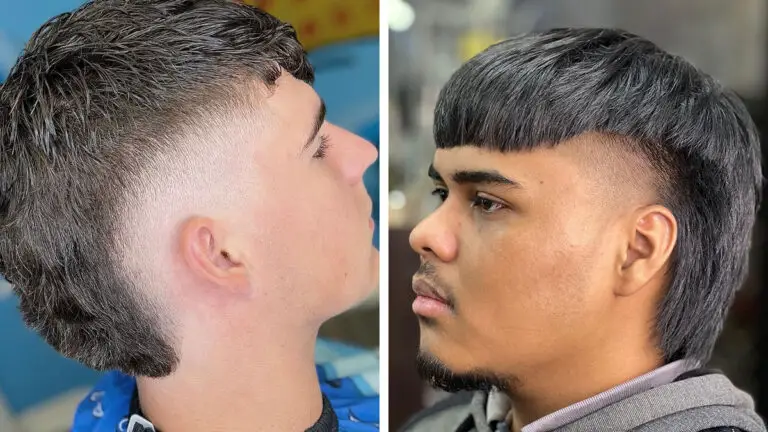
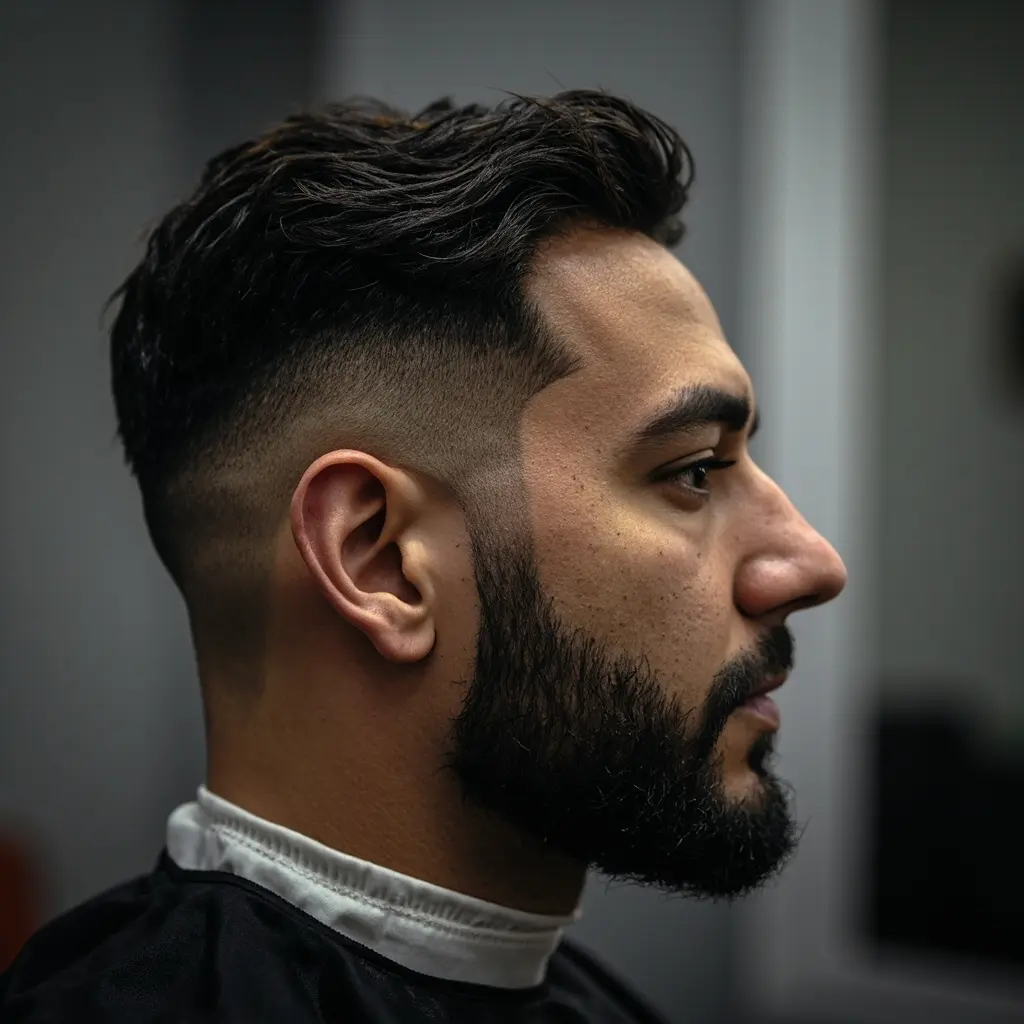
The Edgar haircut has become one of the most sought-after styles for men over the past few years. Originally popularized in Mexican and Latin American communities, this cut features short sides and back with longer, textured hair on top—similar to a mullet but with modern styling. When paired with different fade types, it creates countless variations that suit every face shape and hair type.
If you’ve been wondering how to get an Edgar cut, you’re in the right place. This comprehensive guide walks you through three popular variations: the low taper, mid tape, and low burst fade techniques. I’ve spent over a decade cutting hair in my Arizona salon, and I’m sharing every technique I use with clients.
By the end of this guide, you’ll know:
- Which tools you need for each style
- Step-by-step cutting techniques for pro results
- How to maintain your cut between barber visits
- Common mistakes to avoid

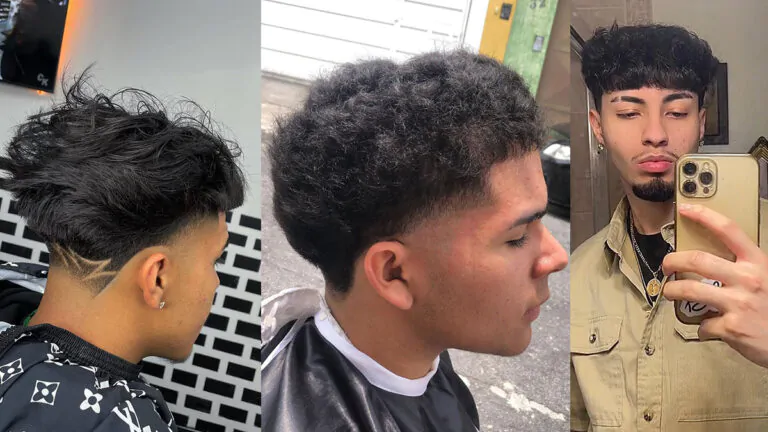
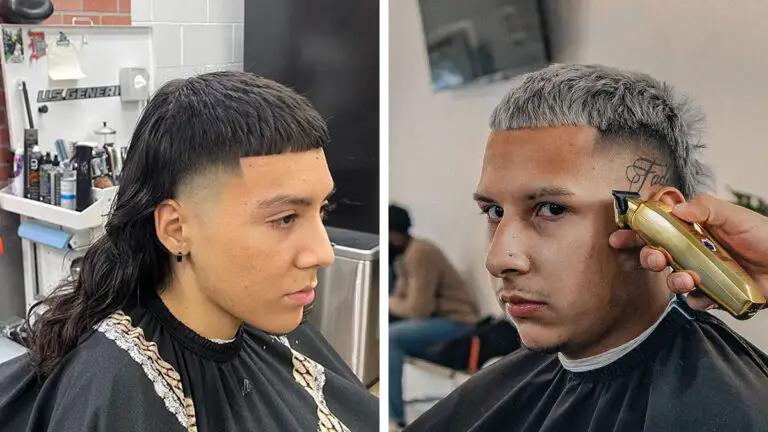
How to Cut an Edgar Haircut with a Low Taper: A Step-by-Step Guide
The low taper Edgar cut is the most versatile variation. The subtle fade creates a clean, polished look that works in professional settings while maintaining the signature Edgar style. This is usually where I start clients who are new to the haircut.
Tools You’ll Need
Before picking up the clippers, gather everything on your station. Nothing’s worse than mid-cut when you realize you forgot something. Here’s what you’ll need:
- Quality clippers — I recommend Andis or Wahl cordless clippers for maneuverability
- Clipper guard sizes — You’ll use #4, #2, #1, and #1/2 guards for the fade
- Detail trimmers — For hairlines, designs, and cleanup work
- Straight razor — Essential for crisp lineup work
- Spray bottle — Keep hair damp throughout cutting for clean results
- Styling products — Pomade, paste, or texture powder depending on your finish preference
Step-by-Step Low Taper Technique
Let me walk you through exactly how I cut this style in my salon. Follow along step by step.
Step 1: Start with Clean, Damp Hair
Always wash the hair before cutting. Clean hair cuts more evenly and is easier to work with. Towel dry until just damp—not soaking wet, but not dry either. The moisture helps the clippers glide smoothly and prevents hair from flying everywhere.
Step 2: Create Your Baseline
Attach a #2 clipper guard. Cut upward with the grain across the entire head, creating an even foundation length. This baseline determines everything that follows, so take your time and make sure it’s uniform all around.
Step 3: Section Out the Edgar Strip
From the front hairline to the crown, isolate a 2-inch wide section—that’s your Edgar strip. This is the signature part of the haircut, so leave it longer than the sides. I usually keep this section about 2-3 inches depending on the client’s hair texture.
Step 4: Taper the Sides and Back
Below the main section, begin tapering using progressively shorter guards. Start with #2, then move to #1, then #1/2. The key is smooth, sweeping motions—never jab or stop abruptly, or you’ll create lines. I fade down to skin on the lowest part of the nape.
Step 5: Texture the Top Section
Point cutting into the Mohawk strip removes bulk and creates natural movement. Hold the scissors at an angle and cut into the hair vertically—never chop across, or you’ll create blunt lines. This step transforms a flat shape into something dynamic.
Step 6: Shape the Hairline
Curve the sideburns around the ears for a natural, frame-the-face look. Keep the nape line square—it’s cleaner and ages better than a tapered neckline. Use detail trimmers for precision work around the ears.
Step 7: Clean Up with a Razor
Apply shave gel to the nape and sideburn areas. Pull the skin taut with one hand and shave with the grain using steady strokes. This step separates amateur cuts from professional work—don’t skip it.
Step 8: Style and Finish
Work your styling product into the damp top section. Style upward for height and forward for that signature Edgar fringe. I love using a texture powder at this stage—it adds volume without looking greasy.
Pro tip: The most common mistake I see is rushing the fade blend. Take your time with each guard—smooth transitions beat any shortcut. Low taper cuts grow out gracefully, so they look good for weeks between cuts.
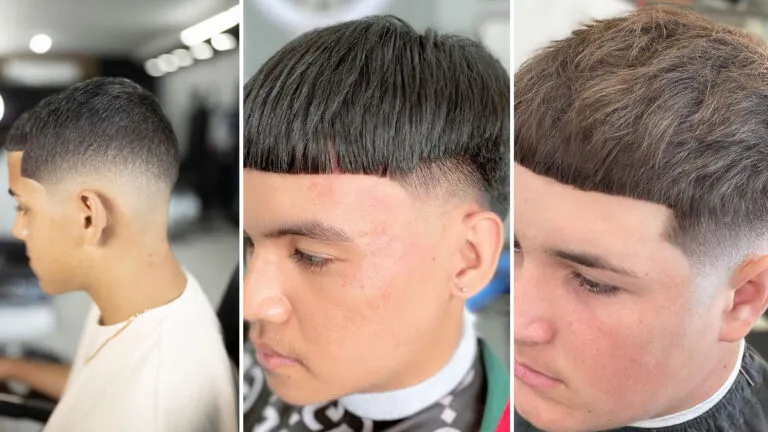
How to Cut a Mid Tape Edgar Cut
The mid tape Edgar is bolder than the low taper. It features sharper lines, more defined fades, and often includes creative designs carved into the sides. This style is perfect for guys who want something eye-catching without going extreme.
Tools for Mid Tape Style
- Adjustable lever trimmers for control during fading
- Multiple clipper guards for smooth blends
- Shaver with adjustable heads
- Styling pomade for sleek finishes
Step-by-Step Mid Tape Process
Step 1: Prep the Hair
Begin with freshly washed, completely dry hair. Any tangles will get worse once you start cutting, so use a wide-tooth comb and work through everything before you touch the clippers.
Step 2: Establish the Baseline
Using trimmers with the lever open, cut upward from the nape in a half-circle motion. Skip the skin here—you’re building a soft transition, not going straight to zero. This becomes your guide for everything else.
Step 3: Set the Second Guideline
With the lever still open, create a second line above the first. This notch defines where the fade starts its higher journey. The distance between these two lines determines how dramatic your fade appears.

Step 4: Build the Fade
Close the lever partially and begin fading down from the second guideline. Work in smooth, overlapping strokes. Then close it further and repeat—each pass removes slightly more hair. This progressive approach creates imperceptible transitions.
Step 5: Add the Designs
This is where you get creative. Use the trimmer to carve geometric shapes along the fade area. Classic choices include lightning bolts, crosshatch patterns, or straight geometric lines. Outline each design crisply with a fresh blade.
Step 6: Finish and Style
Line up the front hairline, clean up stray hairs around the ears, and apply your styling product. For mid tape styles, I typically recommend a medium-hold pomade—it offers shine and control without looking stiff.
The mid tape style demands precision. If you’re doing this at home, practice the lines on paper first until they feel natural. Once you master the technique, you’ll have one of the most versatile styles in your repertoire.
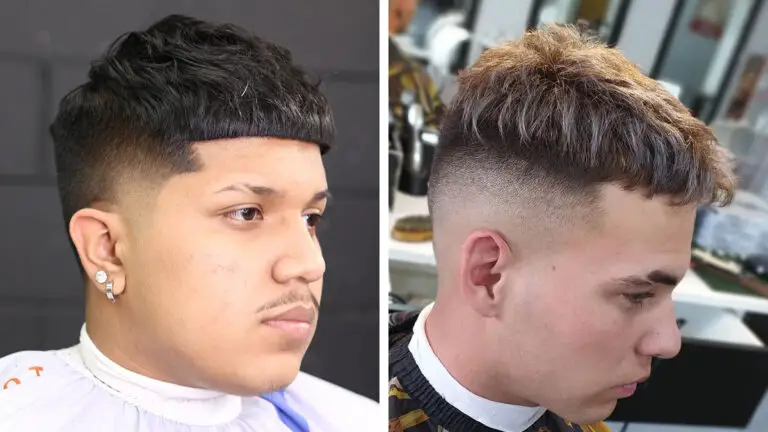
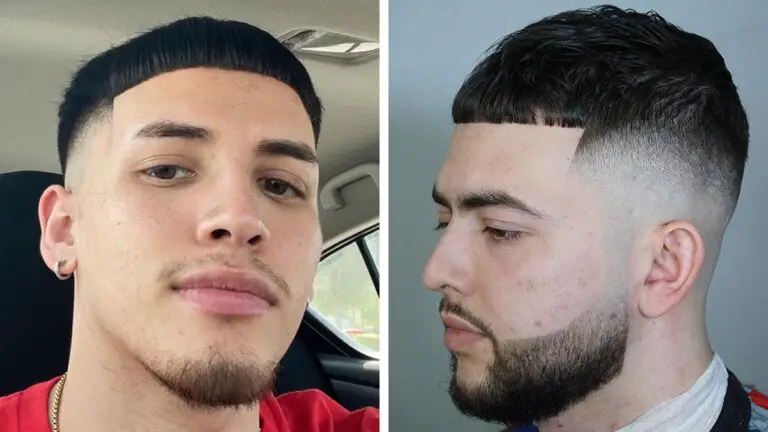
How to Cut a Low Burst Fade Edgar Haircut
The low burst fade Edgar is the boldest of the three techniques. It features a defined lineup (often V-shaped at the front) and a burst pattern that radiates from behind the ears. This style commands attention and works especially well with thick, textured hair.

Step-by-Step Burst Fade Technique
Step 1: Create the V-Shaped Lineup
This is the defining feature of the burst fade. Using your trimmer, outline a crisp V-shape along the front hairline and temples. Center it carefully—it has to be symmetrical or the whole cut looks off. Take your time here; this step sets everything else.
Step 2: Set the Fade Guideline
Determine where you want the burst to start—typically just above the ear for a low style. Using a half guard or lever-open trimmer, establish your initial guideline with smooth upward strokes toward the back of the head.
Step 3: Fade to Skin
Switch to the shaver and begin fading down from your guideline. Progressively close the lever to cut shorter and shorter. Small, controlled movements are essential here—you’re blending from stubble to skin, and smoothness matters more than speed.
Step 4: Refine the Blend
Go back over the area with clipper guards to smooth any harsh lines. Work from longer guards down to shorter ones. If you see any visible demarcation lines, you’ve found an area that needs more blending work.
Step 5: Texturize and Style the Top
Using point cutting and thinning shears, work through the longer hair on top. This removes bulk that can make the style look heavy and creates natural movement. Style with a blow dryer and your preferred product.

Step 6: Razor Lineup Details
Finish with a straight razor to sharpen all edges. Add subtle texture to the fringe area by gently pulling the razor through vertically—that extra detail makes the difference between good and great.
The burst fade is high-impact. It demands precision at every step, but the results are worth it. In my salon, this is the style clients request when they have a specific look in mind—it has personality written all over it.
Frequently Asked Questions
What is the difference between a taper and a fade?
A taper gradually reduces hair length from top to bottom with very subtle transitions—you won’t see obvious lines. A fade cuts closer to the skin and creates unmistakable contrast between the longer hair on top and the faded sides. Fades are more dramatic; tapers are more refined.
How long does it take to cut an Edgar haircut?
On average, plan for 30 to 45 minutes for a properly done Edgar cut. The first few times you attempt it at home, budget extra time. With practice, experienced people can finish in 20 minutes or so.
Can I do an Edgar haircut at home?
Absolutely. You just need quality clippers, the right guards, and patience. Start simple with a basic low taper before attempting the more complex burst fade styles. And always watch the YouTube tutorials above before trying new techniques for the first time.
How often should I maintain my Edgar cut?
Every 2 to 3 weeks keeps it looking fresh. The shorter you keep the sides, the faster it grows out. I tell clients to think of it like any other short haircut—the lines disappear once the hair starts getting longer.
What’s the best styling product for an Edgar cut?
It depends on your hair type and the look you want. Pomade gives a classic, sleek finish. Matte clay or paste creates texture with natural separation—my go-to for most clients. Texture powder adds volume if you have fine hair that needs a boost.
Do I need specific hair to get an Edgar cut?
The style works across most hair types—straight, wavy, even some curly textures. The main requirement is having enough length on top to create that signature layered section (aim for at least 2 inches). Thick hair might need more texturizing work; fine hair generally styles more easily.